Step-by-step guide to mastering basic photo editing software tools
Are you new to photo editing software and feeling overwhelmed by all the different tools and options available? Don't worry, we've got you covered! In this step-by-step guide, we'll walk you through the basics of using photo editing software so you can start enhancing your images like a pro. Whether you're looking to touch up a selfie or create stunning visuals for your website, mastering these essential tools will help you take your photos to the next level.
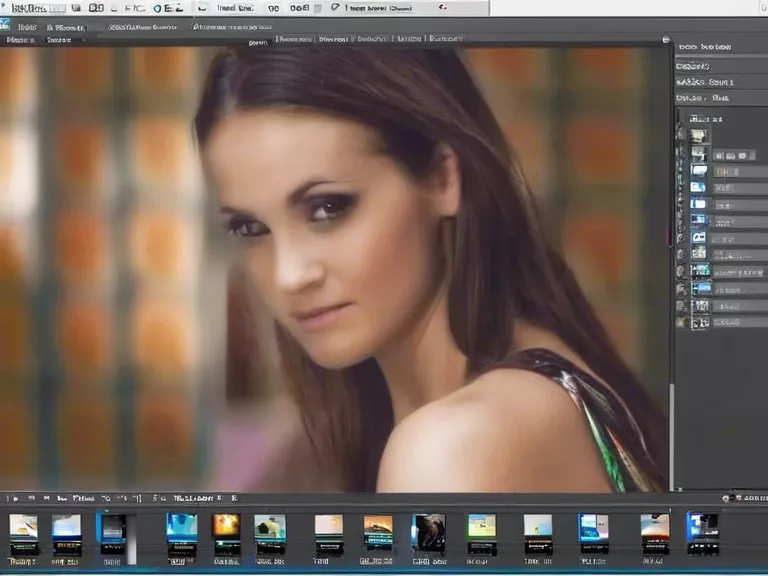
Step 1: Familiarize yourself with the interface
When you first open your photo editing software, take some time to explore the interface. Look for tools like crop, exposure, saturation, and sharpening. Familiarizing yourself with these basic tools will make the editing process much smoother.
Step 2: Import your photo
Once you're comfortable with the interface, import the photo you want to edit. Most software programs make this easy by allowing you to drag and drop your image into the workspace.
Step 3: Crop and straighten
Use the crop tool to remove any unwanted elements from your photo and straighten any crooked lines. This simple step can make a big difference in the overall quality of your image.
Step 4: Adjust exposure and color
Experiment with the exposure and color tools to brighten up your image and make the colors pop. Play around with the sliders until you achieve the desired effect.
Step 5: Sharpen and save
Finally, use the sharpening tool to enhance the details in your photo. Once you're satisfied with the final result, save your edited image in the desired format.
By following these step-by-step instructions, you'll soon be on your way to mastering basic photo editing software tools and creating stunning visuals. Practice makes perfect, so don't be afraid to experiment and have fun with your edits!